Let me paint a picture for you: It’s late at night, and you’re about to drop the needle on your favorite vinyl record. You’re ready for that warm, crackle-free sound. Instead, all you hear is snap, crackle, pop—and no, we’re not talking about cereal. That was me a few years ago, frustrated and clueless about why my records sounded awful. Turns out, dust was the villain.
Keeping your vinyl records dust-free isn’t just for audiophiles; it’s essential for anyone who wants their records to last. Trust me, once you learn the right techniques, you’ll never go back to neglecting your collection. Let’s dive into everything I’ve learned (sometimes the hard way) about dust removal and protecting your vinyl treasures.
Contents
Why Dust Removal Is Essential for Vinyl Records?
I used to think a bit of dust was harmless. Boy, was I wrong. Dust doesn’t just sit there looking ugly—it sneaks into the grooves, affecting sound quality and even causing permanent damage. One time, I ignored a dusty record and played it anyway. Big mistake. It sounded like I was listening to music through a tornado. Worse, those tiny particles acted like sandpaper, leaving scratches behind.
Here’s the deal: Vinyl grooves are microscopic, which makes them a magnet for dust and static. Once dust sticks, it doesn’t just ruin the sound. It shortens the lifespan of your records and your needle. Cleaning your records isn’t just about better sound—it’s about keeping your gear in good shape, too.
Look for these signs your records need attention:
- Constant pops and crackles during playback.
- A dull or muffled sound.
- Visible dust or smudges on the surface.
Don’t ignore these signs. Regular dust removal will save you money and heartbreak in the long run.
Tools You Need for Proper Dust Removal
Let me tell you about the time I tried cleaning a record with a t-shirt. Spoiler alert: terrible idea. You need the right tools, and they’re not as expensive as you think. Here’s what’s in my arsenal:
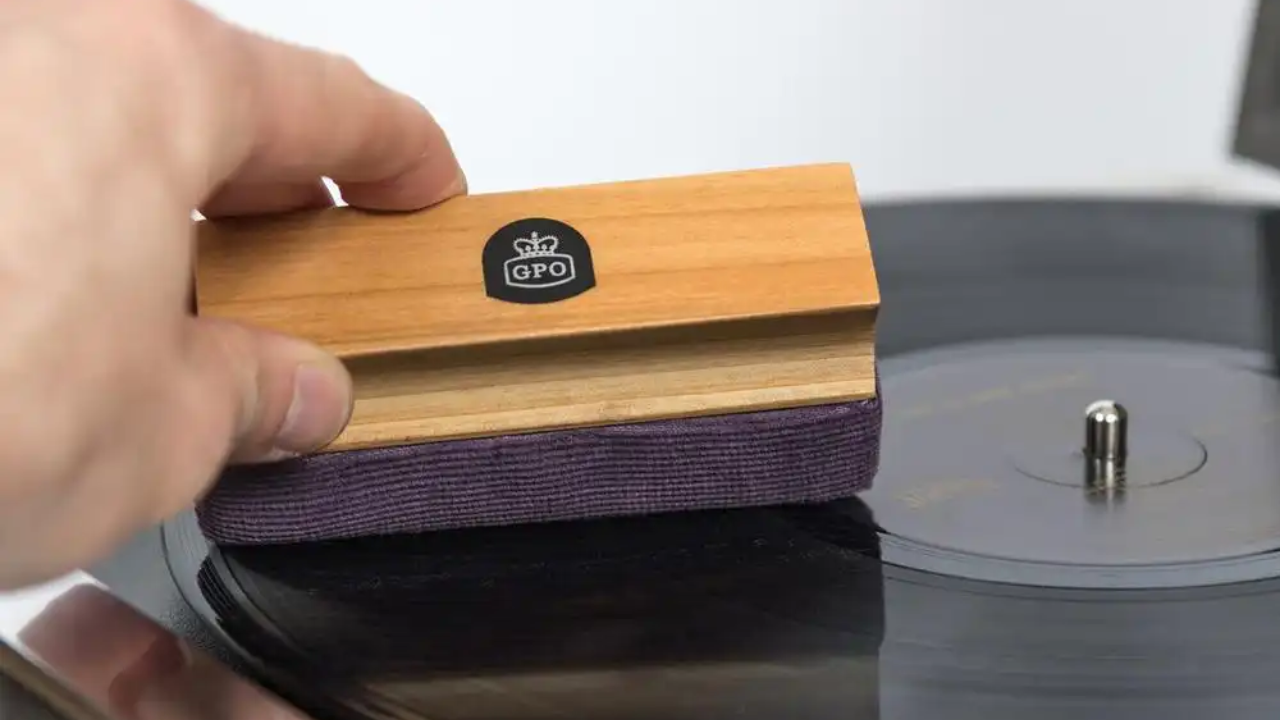
- Antistatic Brush: This little tool changed my life. A few swipes before playing a record, and I’m good to go.
- Microfiber Cloths: Perfect for wiping off surface dust. Just don’t grab an old rag—it’ll leave lint everywhere.
- Record Cleaning Machines: These are pricier, but if you’re serious about vinyl, they’re worth it. I saved up for one, and let me tell you, it’s like a spa day for your records.
- DIY Options: Don’t have a budget? No problem. A gentle mix of distilled water and isopropyl alcohol works wonders. But don’t go overboard—too much liquid can warp your records.
When you’ve got the right tools, cleaning becomes a breeze. Plus, it feels good knowing your records are treated with care.
Step-by-Step Guide to Removing Dust from Vinyl Records
Ready to roll up your sleeves? Here’s my step-by-step guide to dust removal, learned through trial, error, and a bit of swearing.
- Set Up Your Workspace: Find a clean, flat surface. I once cleaned a record on my coffee table while eating chips—don’t do that.
- Start with an Antistatic Brush: Hold the record by the edges, place it on your turntable (not spinning), and use the brush to sweep dust off the grooves gently.
- For Stubborn Dust: Use a cleaning solution. Lightly apply it to a microfiber cloth, not directly to the record. Wipe in a circular motion, following the grooves.
- Dry It Properly: Never stack wet records. Let them air dry on a clean surface.
- Inspect Your Work: Hold the record up to a light. If you see a stray speck, repeat the process.
Pro tip: Never blow on your records to remove dust. Your breath contains moisture, which only adds to the problem. I learned that the hard way!
Preventing Dust Buildup on Vinyl Records
Prevention is half the battle. After spending hours cleaning my collection, I vowed to keep dust away for good. Here’s how I did it:
- Handle Records Properly: Always grab them by the edges. Touching the grooves transfers oils and attracts dust like a magnet.
- Store Them Right: Invest in high-quality inner sleeves and keep your records vertical. A dusty shelf is a record’s worst nightmare.
- Clean Your Turntable: Don’t forget about the needle and platter. I use a soft brush and a bit of isopropyl alcohol.
These small habits make a big difference. Plus, a clean setup just looks cooler, doesn’t it?
Common Mistakes to Avoid When Cleaning Vinyl Records
Even the best intentions can go sideways. I’ve made every mistake in the book, so here’s what NOT to do:
- Over-Cleaning: I used to clean my records after every play. Turns out, that can wear them down faster. Stick to a regular but moderate cleaning schedule.
- Using Harsh Materials: Never use paper towels or household cleaners. They’ll scratch the surface and ruin the sound.
- Skipping the Brush: If you’re in a hurry, you might skip the antistatic brush. Don’t. It takes two seconds and prevents a world of trouble.
Mistakes happen, but as long as you’re learning, your collection will thank you.
Conclusion
Dust might be small, but it’s a big problem for vinyl enthusiasts. The good news? It’s easy to manage with the right tools and habits. Start incorporating these tips today, and you’ll notice the difference instantly.
Got any cleaning hacks or epic fails you want to share? Drop a comment—I’d love to swap stories!
Also read
How to Spot Fake Vinyl Records

I am Kenneth Haney, an unyielding audiophile and an ardent collector of vinyl records. My love affair with vinyl started at a young age of 15. As a teenager, I found myself enchanted by the distinct warmth and depth that vinyl brought to music. Unlike digital music, vinyl records carry a tangibility, a piece of history, an art that exists far beyond the confines of an MP3 file.
